
If you would like to update the IP address of your personal nameserver, you can input the nameserver’s new IP address in your Namecheap account so that the information is submitted directly to the Registry. In order to do so, follow the instructions below:
1. Sign into your Namecheap account. (The Sign In option is available in the top hat of the page).
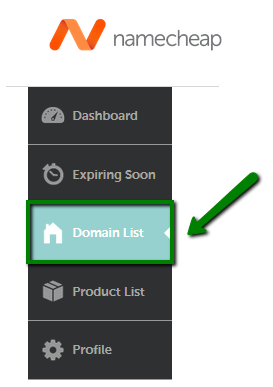
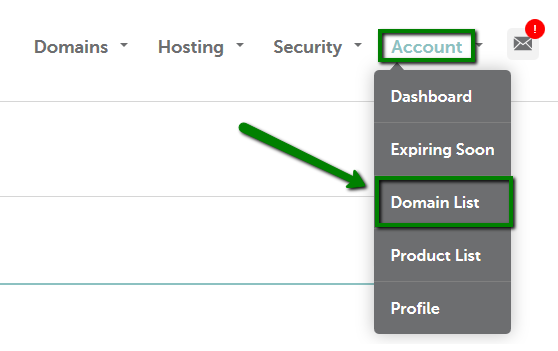
2. Mouse over the Account option in the upper right corner of the page and choose Domain List or the Domain List menu in the left sidebar:

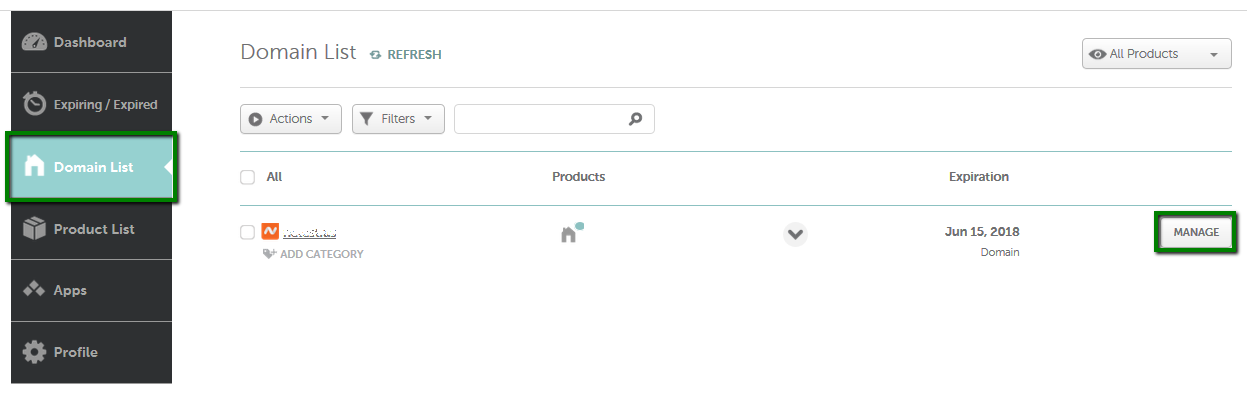
3. Click on the Manage option next to the domain name you want to register personal nameservers for:
4. Choose Advanced DNS from the top menu and scroll down to the Personal DNS server section :
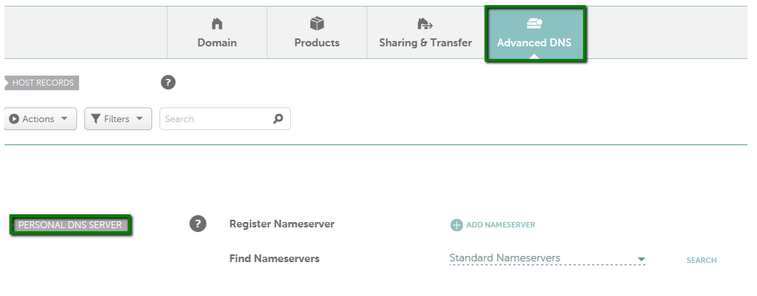
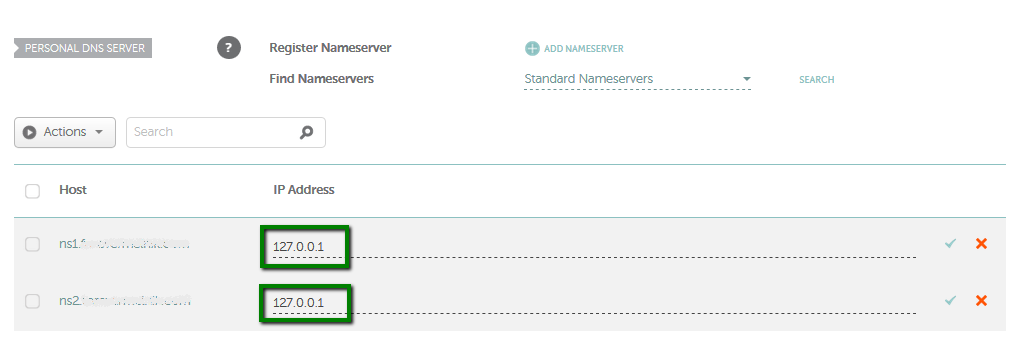
5. Next, to the Find Nameservers option choose the Personal DNS Server type depending on the nameservers you have registered before:
- Standard Nameservers (ns1-ns2 or dns1-dns2).
- Custom Nameservers (any Custom Personal DNS Server).
6. Click on the Search button to proceed with nameservers search:

7. Once done, you will see the nameservers registered for your domain, just click on the record to modify the value:
8. Save all the changes using the Save changes the green icon.
9. Please do not forget to update the IP address on the side of your hosting provider as well. It is needed for the private nameservers to function properly.
NOTE: Currently, it is possible to assign an IPv4 address only to a personal server through the Namecheap interface. If you would like to update it to an IPv6 one, please contact Namecheap Support Team for assistance.
That’s it!